As a recap of page four, we cleaned the block up a tad more due to our tool blowing up. We also took a few pictures of the
Block and the ports that we will be concentrating on. Guess what! We finally went out and got our tool to start porting and polishing again!
Well lets get to work and get these ports done.
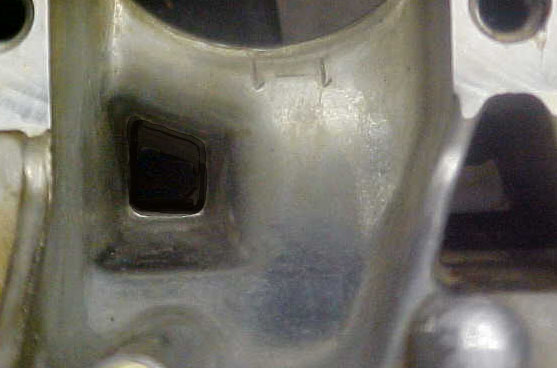
After inspecting your block, and marking the spots that need to be ported. Break out the rotory tool / Dremel , and start grinding away. Below i will be
Showing a picture of a port that has been ported. You will rinse and repeat this procedure for each port that you feel needs to be done. If you have any
questions on this procedure you can email us and we'll try to help you out as best as we can.

As you can see below the type of restrictions that the block has originally.

Remeber those old weather ridden valve covers you saw earlier in the section? Need a refresher? Well here it is. .

Pretty shitty looking if you ask me. Well that just wasn't going to cut it for us either. We sandblasted the valve covers down and got all of the original
paint off. If you don't have access to a sandblaster you can always use a Can of paint stripper that can be purchased at your local walmart in the Automotive
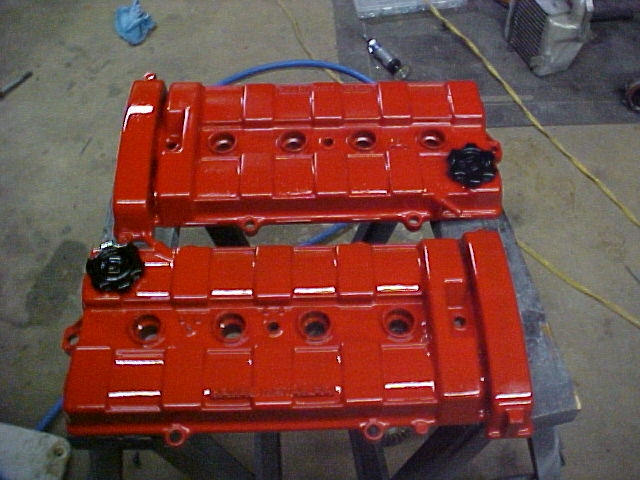
Section. Here is what our valve covers look like now.

Yes thats not 1 Valve cover that is 2. We are doing this swap on two honda civics! So we do exactly the same thing to each.
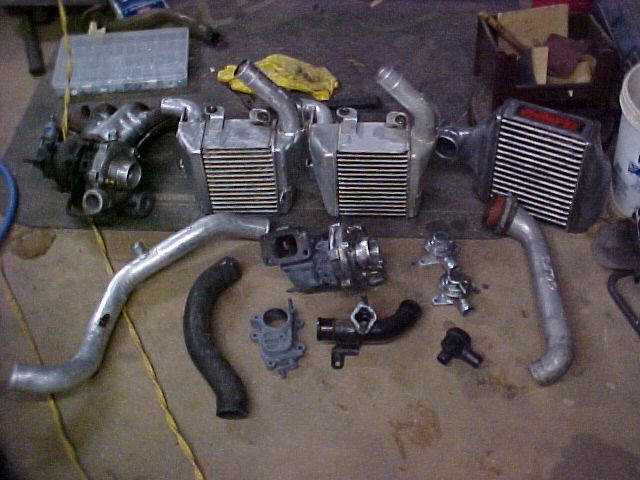
Also i decided to take a picture of most of our turbo peices. Here it is.

I'll be updating this section frequently. Sorry for taking so long to update this section. The next update will include installing a turbo on the Stock motors that
are in the Project Civic Cars now. We have purchased a HF manifold to mount the turbo onto the D series motor. The Next Page will also have a "how to" on filling in your
body line (molding). Also i have been Video'ing alot of the work we do. If your interested in seeing the two civics we are using for this section check out this video below.
Civic Intro Video
Click Here to Continue to Page 6 of DX Hybrid Swap